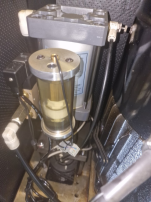
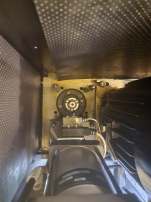
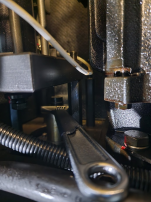
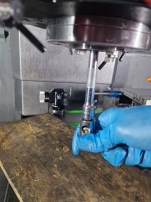
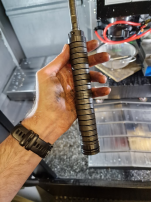
I'm currently going through a Bellview washer replacement after having issues with cutters breaking prematurely and some spindle fretting. The drawbar force is below spec so I've decided to replace the Bellville washers. I've spoken to HURCO and they don't have a procedure for this and I'm wondering if anyone has any words of wisdom?
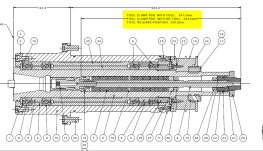
Per the drawing below I'm currently trying to remove item 40 however it appears to be loaded so as I'm loosening the M5 cap screws holding it on it's starting to come away. Is there a tool to compress this or should I be doing this with a tool in the spindle? UPDATE - yes, popping a tool in the spindle allowed me to remove this cap. Had to put a tool in, move the knockout piston out of the way, remove the cap, reinstall the knockout piston, remove the tool then re-remove the knockout assembly. Now I'm trying to work out how to remove the full drawbar assembly - it moves freely up and down about 2" but won't come out the top.
The next problem I'm not sure how to overcome is removing the 1 off precision nuts (Item 38) from within the assembly or does the whole lot just slide out of the top? So there's an 8mm allen key inside the spindle from the bottom securing the actual collet to the spring stack. It was super tight but it came undone with a bit of force and the drawbar assy just slides out the top of the spindle.
Any words of wisdom from someone who has done this before would be greatly appreciated. I'll try and update with my progress as a resource for anyone else in this situation.

Last edited:


